my new housemate, linzi (read: lindsay), has a penchant for
Cantonese-style
rice porridge/ congee which i must admit--before i met her--i've never attempted cooking. as i've explained earlier, i'm
hainanese and our congee is quite different from how the cantonese prepare theirs. mainly, the difference lies in the viscosity: of all the dialects, the cantonese congee is the most fluid, to the point where it gets mistaken as a soup by the uninitiated.
lucky for us, not only is
L. Cantonese, but she also knows her congee recipe well. for the most part, therefore, this recipe will be credited to her!
because linzi and i are going to be terribly busy over the next few days, we're cooking a big pot of congee to last us till wednesday/ thursday.
Ingredients.
500g, jasmine rice (washed and drained)
4 cloves, garlic
1-2 inch, ginger
1 pc, chicken stock cube (or 1 cup, chicken stock, or whatever stock you prefer)
1 tbsp, ground white pepper
2 tbsp, sesame oil
A LOT OF WATER
substitutable ingredients.
6 pc, dried mushrooms
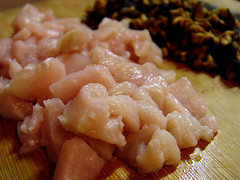
1 pc, chicken breast
2 stalk, continental parsley (garnishing)
some thai fish sauce (for flavour)
(because the congee is made quite separately, you might want to add prawns, duck meat, beef strips, etc instead. pretty free-form once the congee is done.)
 Special Equipment
.
food processor (preferably handheld)
Serves.
8
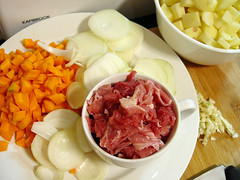
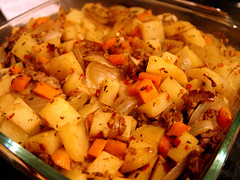
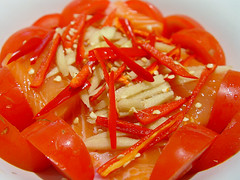
Step 1: Preparing the ingredientsbruise and dice the garlic and ginger.
set the dried mushrooms in boiling water, and let it soak till soft.
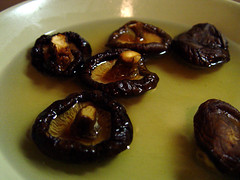
remove the mushroom and dice them. set the mushroom broth aside for cooking later.
dice the chicken breast into finer portions.
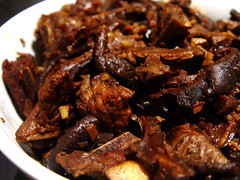
 Step 2: Quick fry of the main ingredients
.
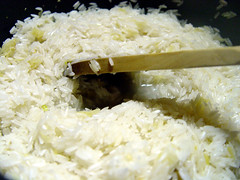
set your nice big wok/ pot over a medium flame. pour the sesame oil in. when hot, throw the garlic and ginger in.

before they brown, add the rice in and stir fry everything for about five minutes.
 Step 2: Adding Water and Broth
.
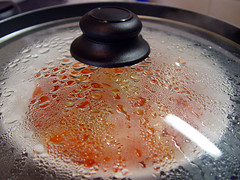
pour the mushroom broth into the mixture; remember to keep stirring. add about 10 portions of water--the water to rice ratio for this recipe is roughly 10:1. let the rice cook, but remember to stir intermittently.
 Step 3: Processing the Congee
.
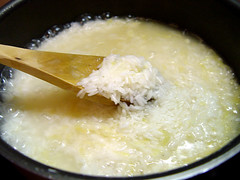
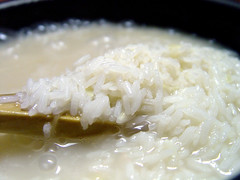
when the rice is more or less cooked, you'll notice that it's broken down quite a bit. however, the rice bits are still somewhat separated from the water. traditionally, the porridge is cooked over the stove for about an hour so that the rice breaks down naturally. thankfully i haven't the patience; we're going to break it down actively.
turn your flame off, stick your food processor into the pot and let it rip! you'll probably have to spin the stick processor around for at least ten minutes so that you get a beautiful liquid texture out of the congee.
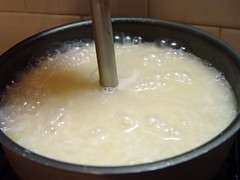
when done, return pot to stove.
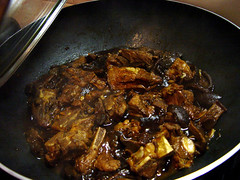
Step 4: Adding stuff.
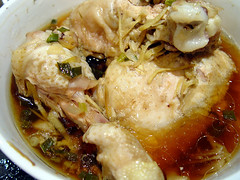
this is where we may depart and differ. i'm adding the mushroom chicken in right now. also, i'm adding more water so that the congee becomes even more fluid. the aim is to keep the congee as fluid as possible. so whenever water evaporates over the stove, add a bit into the pot and stir the water in.
make sure you allow the congee to come to a boil if you added raw meat in.
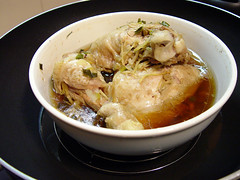
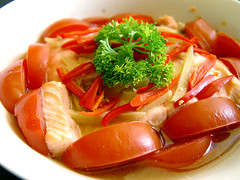
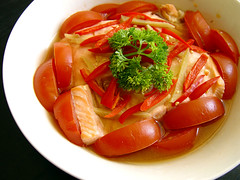
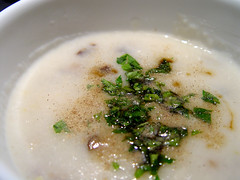
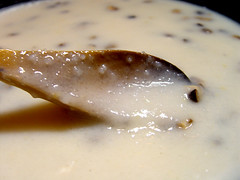
Final Serve.
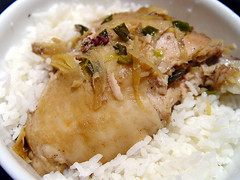
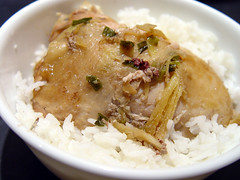
taste your congee and you might realise that while it has a nice soothing taste to it, it's not exactly the most flavourful dish. most restaurants prepare their congee in a similar fashion: cook the main congee, remove part of it to add specific ingredients according to your order.
I'm serving my congee with a tsp of Thai Fish Sauce, pinch of continental parsley and pepper. you may decide on some other sauce (e.g. soy sauce, chinese vinegar, etc) or to have none at all. really, it's up to you at this point.